Amana ART308FFDB - Manuals
Amana ART308FFDB Refrigerator – User Manual, Troubleshooting Guide, Manual in PDF format online.
Manuals:
User Manual Amana ART308FFDB
Troubleshooting Guide Amana ART308FFDB


Manual Amana ART308FFDB


Summary
3 Important Information The following information is used throughout this Installation Guide. Read it carefully so you are familiar with it. This Installation Guide gives you complete instructions on how to install the Ice Maker Kit in your refrigerator-freezer and connect a water line to it. Plea...
4 Before You Begin Tools Gather required tools and parts before starting installation. Read and follow the instructions provided with any tools listed here. 1. Regular screwdriver 2. Phillips screwdriver 3. 7⁄16" and 1⁄2" open-end wrenches (or an adjustable wrench) 4. Pliers 5. 1⁄4" nut ...
5 Components Remove the contents from the shipping carton and set them on a table where they can be easily identified and located. Check all of the components in the kit against the following list to help you become familiar with them. When you identify a component, place a check mark ( 3) after it....
Amana Refrigerators Manuals
-
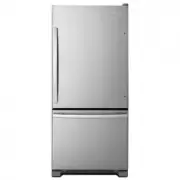
 Amana ABB1921BRB
User Manual
Amana ABB1921BRB
User Manual
-
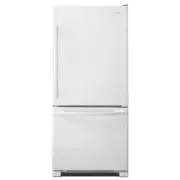
 Amana ABB1921BRW
User Manual
Amana ABB1921BRW
User Manual
-
 Amana ABB1924BRB
User Manual
Amana ABB1924BRB
User Manual
-
Amana ABB1924BRB
Manual
-
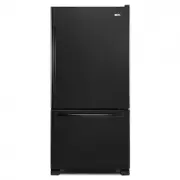
 Amana ABB1924BRM
User Manual
Amana ABB1924BRM
User Manual
-
Amana ABB1924BRM
Manual
-
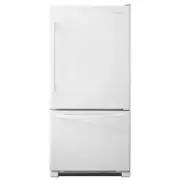
 Amana ABB1924BRW
User Manual
Amana ABB1924BRW
User Manual
-
Amana ABB1924BRW
Manual
-
Amana ABB1924BRW
Troubleshooting Guide
-
 Amana ABB2224BRB
User Manual
Amana ABB2224BRB
User Manual
-
 Amana ABB2224BRW
User Manual
Amana ABB2224BRW
User Manual
-
 Amana ART104TFDB
User Manual
Amana ART104TFDB
User Manual
-
Amana ART104TFDB
Manual
-
Amana ART104TFDB
Troubleshooting Guide
-
 Amana ART104TFDW
User Manual
Amana ART104TFDW
User Manual
-
Amana ART104TFDW
Troubleshooting Guide
-
Amana ART104TFDW
Manual
-
 Amana ART308FFDM
User Manual
Amana ART308FFDM
User Manual
-
Amana ART308FFDM
Manual
-
Amana ART308FFDM
Troubleshooting Guide