Amana AGR4203MNB - Manuals
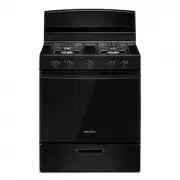
Amana AGR4203MNB Range – User Manual, Troubleshooting Guide, Installation Manual in PDF format online.
User Manual Amana AGR4203MNB


Troubleshooting Guide Amana AGR4203MNB


Installation Manual Amana AGR4203MNB


Summary
2 RANGE SAFETY You can be killed or seriously injured if you don't immediately You can be killed or seriously injured if you don't follow All safety messages will tell you what the potential hazard is, tell you how to reduce the chance of injury, and tell you what canhappen if the instructions are n...
3 INSTALLATION REQUIREMENTS Tools and Parts Gather the required tools and parts before starting installation. Read and follow the instructions provided with any tools listed here. Tools needed n Tape measure n Flat-blade screwdriver n Phillips screwdriver n Level n Hand or electric drill n Wrench or...
4 Location Requirements IMPORTANT: Observe all governing codes and ordinances. Do not obstruct flow of combustion and ventilation air. n It is the installer’s responsibility to comply with installation clearances specified on the model/serial rating plate. The model/serial rating plate is located on...
Amana Ranges Manuals
-
 Amana ACR2303MFW
User Manual
Amana ACR2303MFW
User Manual
-
Amana ACR2303MFW
Troubleshooting Guide
-
Amana ACR2303MFW
Installation Manual
-
Amana ACR2303MFW
Manual
-
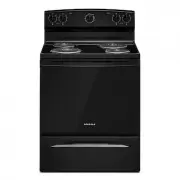 Amana ACR4203MNB
User Manual
Amana ACR4203MNB
User Manual
-
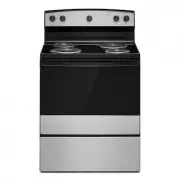 Amana ACR4203MNS
User Manual
Amana ACR4203MNS
User Manual
-
Amana ACR4203MNS
Manual
-
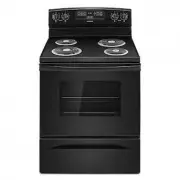 Amana ACR4303MFB
User Manual
Amana ACR4303MFB
User Manual
-
Amana ACR4303MFB
Manual
-
 Amana ACR4303MFW
User Manual
Amana ACR4303MFW
User Manual
-
Amana ACR4303MFW
Installation Manual
-
Amana ACR4303MFW
Troubleshooting Guide
-
Amana ACR4303MFW
Manual
-
 Amana ACR4303MMS
User Manual
Amana ACR4303MMS
User Manual
-
Amana ACR4303MMS
Troubleshooting Guide
-
 Amana ACR4503SFB
User Manual
Amana ACR4503SFB
User Manual
-
 Amana AEP222VAW
User Manual
Amana AEP222VAW
User Manual
-
Amana AEP222VAW
Installation Manual
-
 Amana AER6303MFB
User Manual
Amana AER6303MFB
User Manual
-
Amana AER6303MFB
Installation Manual