Alpine CDM-7892R - Manuals
Alpine CDM-7892R Car Radio – Manual in PDF format online.
Manuals:
Manual Alpine CDM-7892R


Summary
Alpine CD Changers Give You More! More musical selections, more versatility, more convenience. The CHA-S634 is a high-performance 6-disc changer with a new M DAC, CD-R/RW PLAY BACK, MP3 PLAY BACK and CD TEXT.The CHA-1214 Ai-NET model holds 12 discs, and the CHM-S630 M-Bus model is a super-compact 6-...
1 -EN Contents Operating Instructions WARNING WARNING .................................................. 2 CAUTION ................................................... 2 PRECAUTION ........................................... 2 Basic Operations Detaching the Front Panel ..................................
2 -EN WARNING This symbol means important instructions. Failureto heed them can result in serious injury or death. DO NOT OPERATE ANY FUNCTION THAT TAKES YOURATTENTION AWAY FROM SAFELY DRIVING YOURVEHICLE. Any function that requires your prolonged attention should onlybe performed after coming to a ...
Alpine Car Radios Manuals
-
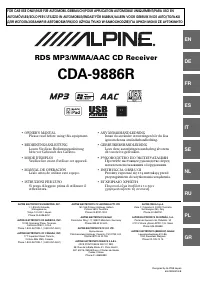 Alpine CDA-9886R
Manual
Alpine CDA-9886R
Manual
-
 Alpine CDE-103BT
Manual
Alpine CDE-103BT
Manual
-
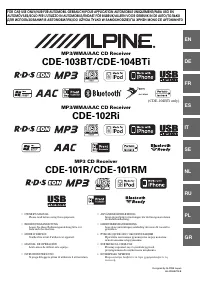 Alpine CDE-104BTi
Manual
Alpine CDE-104BTi
Manual
-
 Alpine CDE-120R(RM)(RR)
User Manual
Alpine CDE-120R(RM)(RR)
User Manual
-
 Alpine CDE-130R(RM)(RR)
User Manual
Alpine CDE-130R(RM)(RR)
User Manual
-
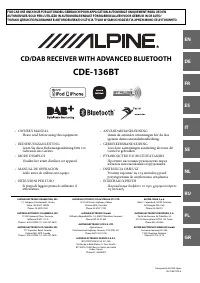 Alpine CDE-136BT
Manual
Alpine CDE-136BT
Manual
-
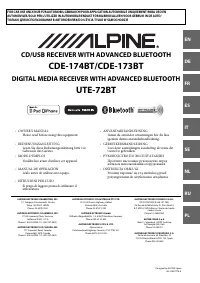 Alpine CDE-173BT
Manual
Alpine CDE-173BT
Manual
-
 Alpine CDE-175R
Manual
Alpine CDE-175R
Manual
-
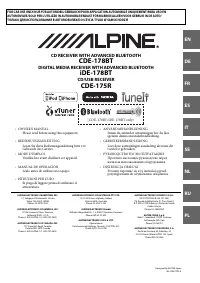
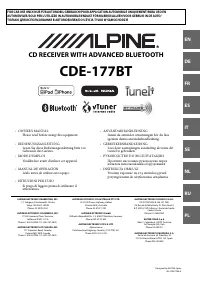 Alpine CDE-177BT
Manual
Alpine CDE-177BT
Manual
-
 Alpine CDE-178BT
Manual
Alpine CDE-178BT
Manual
-
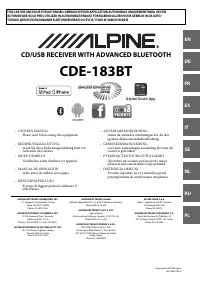 Alpine CDE-183BT
Manual
Alpine CDE-183BT
Manual
-
 Alpine CDE-185BT
Manual
Alpine CDE-185BT
Manual
-
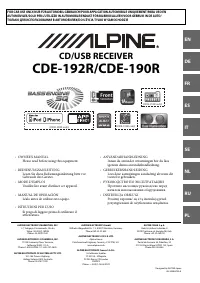 Alpine CDE-190R
Manual
Alpine CDE-190R
Manual
-
 Alpine CDE-192R
Manual
Alpine CDE-192R
Manual
-
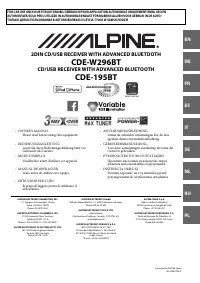 Alpine CDE-195BT
Manual
Alpine CDE-195BT
Manual
-
 Alpine CDE-9880R
Manual
Alpine CDE-9880R
Manual
-
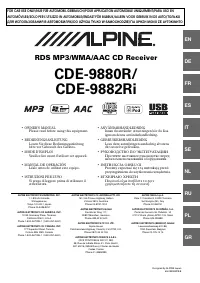 Alpine CDE-9882Ri
Manual
Alpine CDE-9882Ri
Manual
-
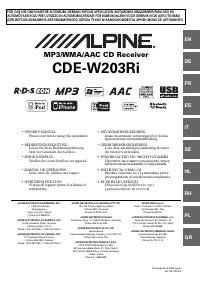 Alpine CDE-W203Ri
Manual
Alpine CDE-W203Ri
Manual
-
 Alpine CDE-W296BT
Manual
Alpine CDE-W296BT
Manual
-
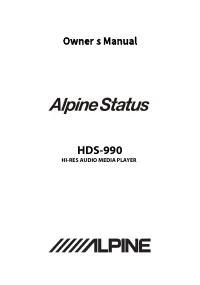 Alpine HDS-990
User Manual
Alpine HDS-990
User Manual