Alpine CDM-7857 - Manuals
Alpine CDM-7857 Car Radio – Manual in PDF format online.
Manuals:
Manual Alpine CDM-7857


Summary
CHM-S620 CHA-1214 CHA-S624 CD changer for CDM-7857/ CDM-7854 Changeur CD pour CDM-7857/ CDM-7854 Cambiador de CD para CDM-7857/ CDM-7854 Alpine CD Changers Give You More! More musical selections, more versatility, more convenience. An Alpine CD Changer adds more musical choices to your sound system....
1 -EN Contents Operating Instructions WARNING WARNING .................................................. 2 CAUTION ................................................... 2 PRECAUTIONS ......................................... 2 Basic Operation Detaching the Front Panel ....................................
2 -EN WARNING The exclamation point within an equilateraltriangle and "WARNING" are intended to alertthe user to the presence of importantoperating instructions.Failure to heed the instructions will result insevere injury or death. DO NOT DISASSEMBLE OR ALTER. Doing so may lead to accident, ...
Alpine Car Radios Manuals
-
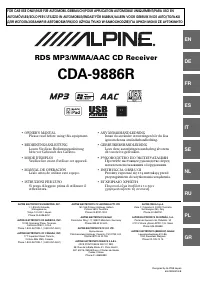 Alpine CDA-9886R
Manual
Alpine CDA-9886R
Manual
-
 Alpine CDE-103BT
Manual
Alpine CDE-103BT
Manual
-
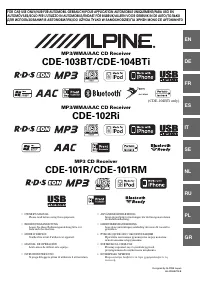 Alpine CDE-104BTi
Manual
Alpine CDE-104BTi
Manual
-
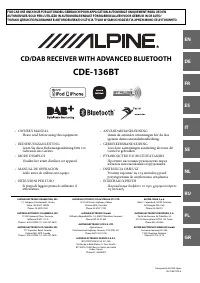 Alpine CDE-136BT
Manual
Alpine CDE-136BT
Manual
-
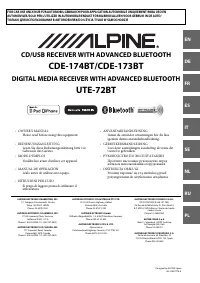 Alpine CDE-173BT
Manual
Alpine CDE-173BT
Manual
-
 Alpine CDE-175R
Manual
Alpine CDE-175R
Manual
-
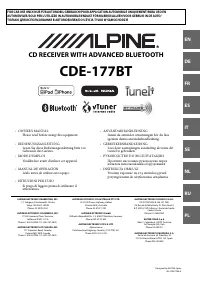 Alpine CDE-177BT
Manual
Alpine CDE-177BT
Manual
-
 Alpine CDE-178BT
Manual
Alpine CDE-178BT
Manual
-
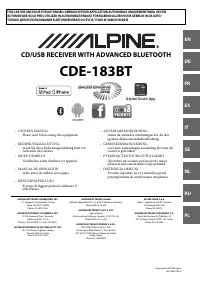 Alpine CDE-183BT
Manual
Alpine CDE-183BT
Manual
-
 Alpine CDE-185BT
Manual
Alpine CDE-185BT
Manual
-
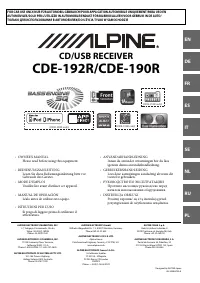 Alpine CDE-190R
Manual
Alpine CDE-190R
Manual
-
 Alpine CDE-192R
Manual
Alpine CDE-192R
Manual
-
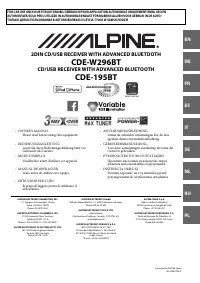 Alpine CDE-195BT
Manual
Alpine CDE-195BT
Manual
-
 Alpine CDE-9880R
Manual
Alpine CDE-9880R
Manual
-
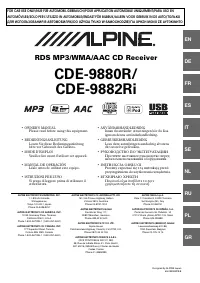 Alpine CDE-9882Ri
Manual
Alpine CDE-9882Ri
Manual
-
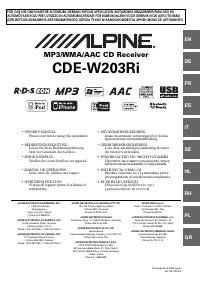 Alpine CDE-W203Ri
Manual
Alpine CDE-W203Ri
Manual
-
 Alpine CDE-W296BT
Manual
Alpine CDE-W296BT
Manual
-
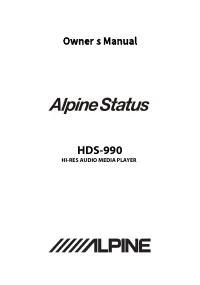 Alpine HDS-990
User Manual
Alpine HDS-990
User Manual
-
 Alpine ICS-X8
Manual
Alpine ICS-X8
Manual
-
 Alpine iDA-X100M
Manual
Alpine iDA-X100M
Manual