Alpine CDE-100EUB - Manuals
Alpine CDE-100EUB Car Radio – Manual in PDF format online.
Manuals:
Manual Alpine CDE-100EUB


Summary
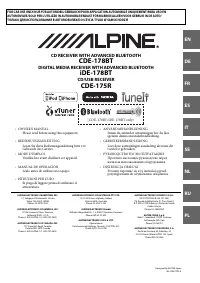
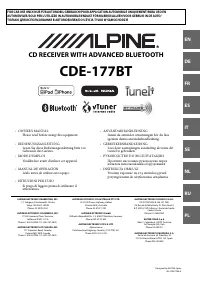
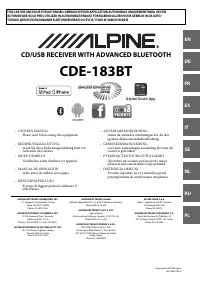
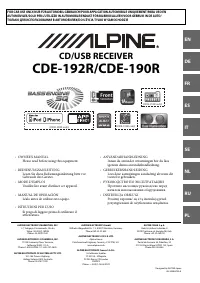
Operating Instructions DO NOT OPERATE ANY FUNCTION THAT TAKES YOUR ATTENTION AWAY FROM SAFELY DRIVING YOUR VEHICLE. Any function that requires your prolonged attention should only be performed after coming to a complete stop. Always stop the vehicle in a safe location before performing these functio...
On handling Compact Discs (CD/CD-R/CD-RW) • Do not touch the surface.• Do not expose the disc to direct sunlight.• Do not affix stickers or labels.• Clean the disc when it is dusty.• Make sure that there are no bumps around the disc.• Do not use commercially available disc accessories. Do not leave ...
* This illustration is CDE-100EUB. Accessory List • Head unit ............................................................................1 • Power cable ........................................................................1 • Mounting sleeve..........................................................
Alpine Car Radios Manuals
-
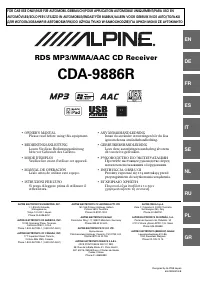 Alpine CDA-9886R
Manual
Alpine CDA-9886R
Manual
-
 Alpine CDE-103BT
Manual
Alpine CDE-103BT
Manual
-
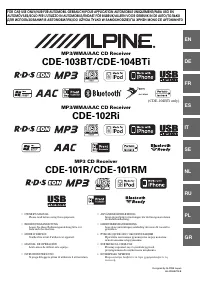 Alpine CDE-104BTi
Manual
Alpine CDE-104BTi
Manual
-
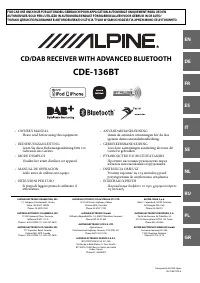 Alpine CDE-136BT
Manual
Alpine CDE-136BT
Manual
-
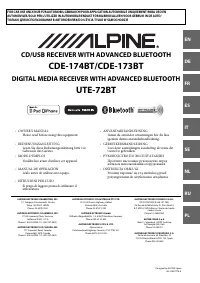 Alpine CDE-173BT
Manual
Alpine CDE-173BT
Manual
-
 Alpine CDE-175R
Manual
Alpine CDE-175R
Manual
-
 Alpine CDE-177BT
Manual
Alpine CDE-177BT
Manual
-
 Alpine CDE-178BT
Manual
Alpine CDE-178BT
Manual
-
 Alpine CDE-183BT
Manual
Alpine CDE-183BT
Manual
-
 Alpine CDE-185BT
Manual
Alpine CDE-185BT
Manual
-
 Alpine CDE-190R
Manual
Alpine CDE-190R
Manual
-
 Alpine CDE-192R
Manual
Alpine CDE-192R
Manual
-
 Alpine CDE-195BT
Manual
Alpine CDE-195BT
Manual
-
 Alpine CDE-9880R
Manual
Alpine CDE-9880R
Manual
-
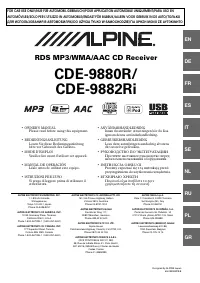 Alpine CDE-9882Ri
Manual
Alpine CDE-9882Ri
Manual
-
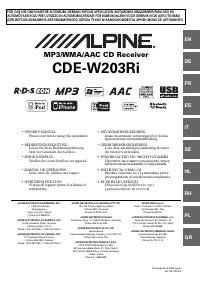 Alpine CDE-W203Ri
Manual
Alpine CDE-W203Ri
Manual
-
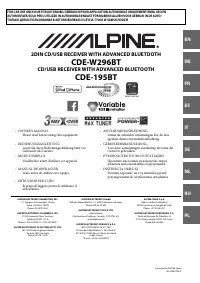
 Alpine CDE-W296BT
Manual
Alpine CDE-W296BT
Manual
-
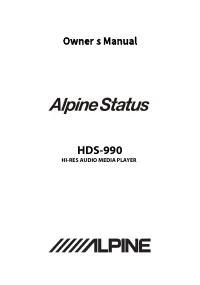 Alpine HDS-990
User Manual
Alpine HDS-990
User Manual
-
 Alpine ICS-X8
Manual
Alpine ICS-X8
Manual
-
 Alpine iDA-X100M
Manual
Alpine iDA-X100M
Manual