Bertazzoni MAS95I2ENET - User Manual
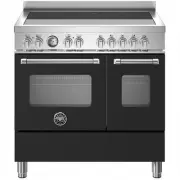
Bertazzoni MAS95I2ENET Range – User Manual, read for free online in PDF format. We hope this helps you resolve any issues you may have. If you have further questions, please contact us through the contact form.
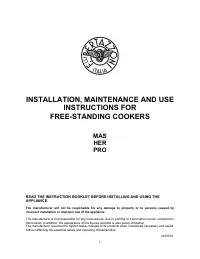
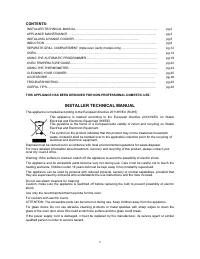
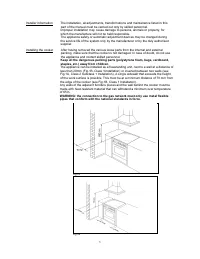
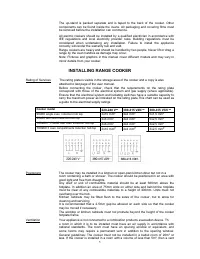
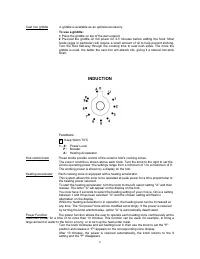
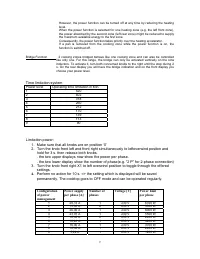
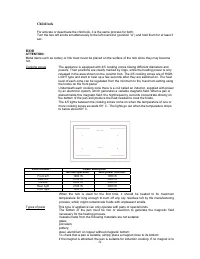
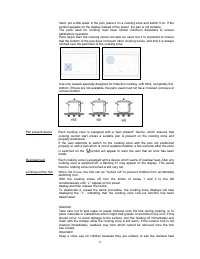
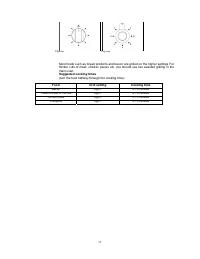

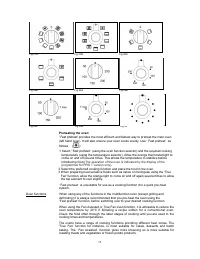
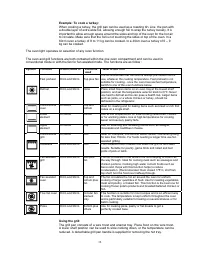
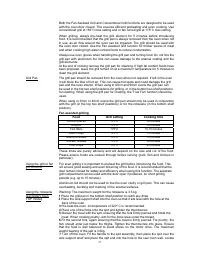
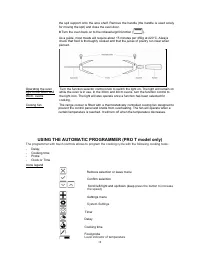
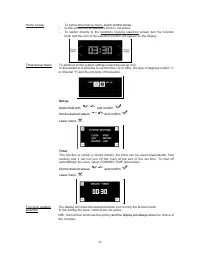
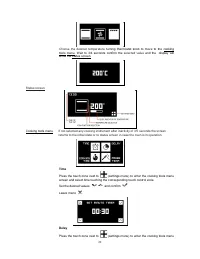
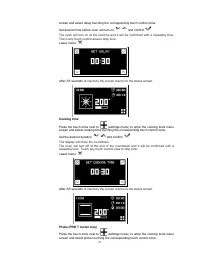
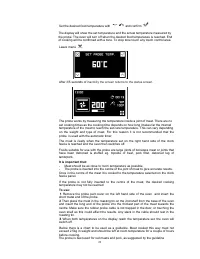

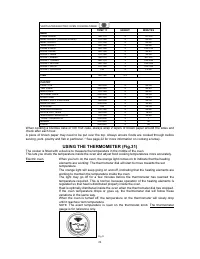


Table of Contents:
- Page 2 – INSTALLER TECHNICAL MANUAL
- Page 3 – be carried out only by skilled personnel.
- Page 4 – APPLIANCE MAINTENANCE; ATTENTION: IMPORTANT WARNINGS; For cookers resting on a base; gas supply and electricity network.
- Page 5 – INSTALLING RANGE COOKER; Cooker model
- Page 6 – ground symbol; which is accessible by removing the posterior casing.
- Page 8 – INDUCTION; Functions
- Page 9 – Bridge Function; Time limitation system; Power level
- Page 13 – Suggested cooking times
- Page 14 – OVENS; Before using the ovens for the first time:; The operation
- Page 15 – Preheating the oven:; Fast prehea
- Page 17 – Place the grill pan in the bottom shelf position to catch any drips.
- Page 18 – USING THE; press the button to increase
- Page 20 – Time
- Page 21 – Cooking time; inactivity the screen returns to the status screen.
- Page 22 – It is important that:
- Page 23 – Cut of meat Preferred result Suggested core temp; temperature than roasting.; Important; DO NOT LEAVE THE PROBE IN THE OVEN CAVITY WHEN NOT IN USE.; Reset; bring both knobs on the; OVEN TEMPERATURE GUIDE; Selecting the correct cooking temperature; The centre of each number should be In line
- Page 24 – gauge is for reference only.
- Page 25 – CLEANING YOUR COOKER; Griddle; After cooking, allow the Griddle to cool until just warm.; Cast iron griddle; clean in a dishwasher.
- Page 28 – ACCESSORIES
- Page 29 – TROUBLESHOOTING
- Page 30 – USEFUL TIPS
- Page 31 – surfaces.; Doors and door seals; To level the cooker
1
INSTALLATION, MAINTENANCE AND USE
INSTRUCTIONS FOR
FREE-STANDING COOKERS
MAS
HER
PRO
READ THE INSTRUCTION BOOKLET BEFORE INSTALLING AND USING THE
APPLIANCE.
The manufacturer will not be responsible for any damage to property or to persons caused by
incorrect installation or improper use of the appliance.
The manufacturer is not responsible for any inaccuracies, due to printing or transcription errors, contained in
this booklet. In addition, the appearance of the figures reported is also purely indicative.
The manufacturer reserves the right to make changes to its products when considered necessary and useful,
without affecting the essential safety and operating characteristics.
3100729
"Loading the manual" means you need to wait until the file loads and becomes available for online reading. Some manuals are very large, and the time they take to appear depends on your internet speed.
Summary
2 CONTENTS: INSTALLER TECHNICAL MANUAL…………………………………………………………………….. pg.2 APPLIANCE MAINTENANCE ....................................................................................................... pg.4 INSTALLING A RANGE COOKER ..........................................................................
3 Installer information The installation, all adjustments, transformations and maintenance listed in this part of the manual must be carried out only by skilled personnel. Improper installation may cause damage to persons, animals or property, for which the manufacture will not be held responsible. ...
4 APPLIANCE MAINTENANCE ATTENTION: IMPORTANT WARNINGS For cookers resting on a base ATTENTION: If the cooker rests on a base, take the measures necessary to prevent the cooker from sliding along the support base. For cookers with electric ovens The unit becomes hot during use. Do not touch the heati...