Bertazzoni MAS905iMFESVIT - User Manual
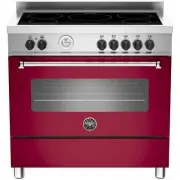
Bertazzoni MAS905iMFESVIT Range – User Manual, read for free online in PDF format. We hope this helps you resolve any issues you may have. If you have further questions, please contact us through the contact form.

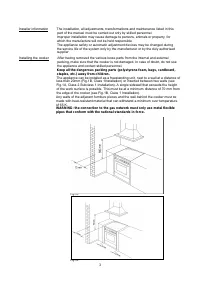
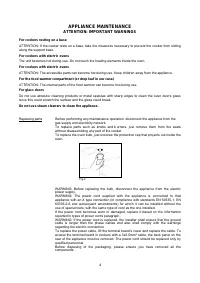
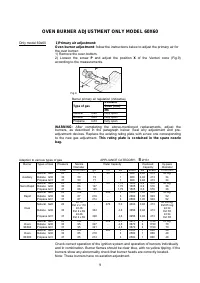
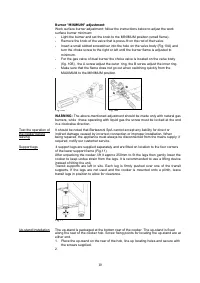
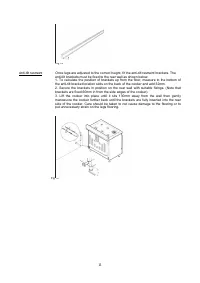

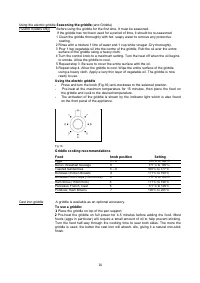
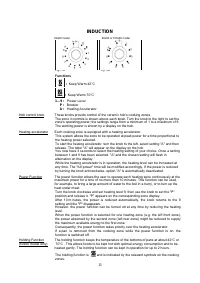
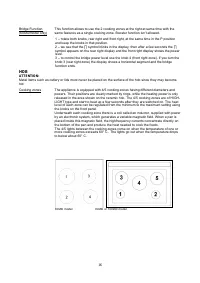
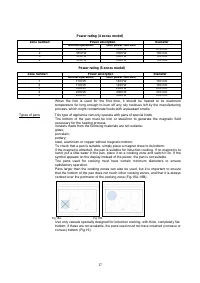

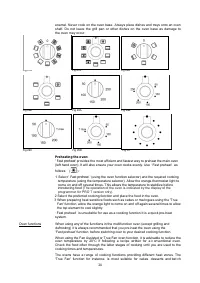
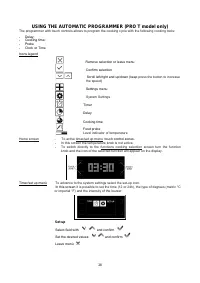
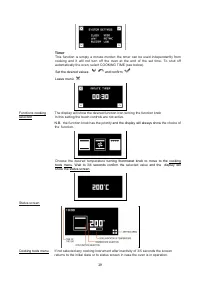
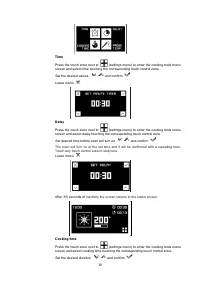
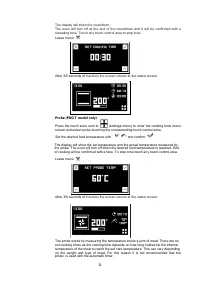
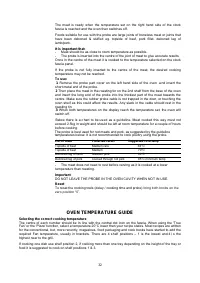
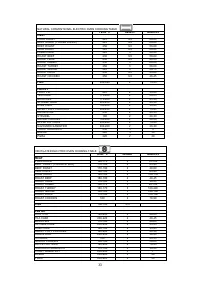
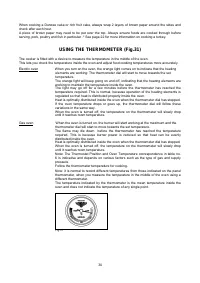
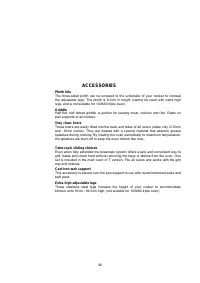


Table of Contents:
- Page 2 – INSTALLER TECHNICAL MANUAL
- Page 4 – APPLIANCE MAINTENANCE; ATTENTION: IMPORTANT WARNINGS; For cookers resting on a base
- Page 5 – INSTALLING RANGE COOKER; Cooker model
- Page 7 – accordingly
- Page 9 – OVEN BURNER ADJUSTMENT ONLY MODEL 60X60; Oven burner adjustment; BURNER; This rating plate is contained in the spare nozzle; II
- Page 12 – GAS HOB; As the following points:; Burner; Auxiliary
- Page 13 – THE GRIDDLE; To assemble the Griddle:
- Page 14 – Griddle cooking recommendations; Eggs 5 – 6 150°C to 160°C
- Page 15 – INDUCTION; Functions
- Page 16 – ∏ symbol blinks in the display, then after a few seconds the ∏; HOB; 0x60 model 90x60 or 100x60 model
- Page 19 – Suggested cooking times
- Page 20 – OVENS; Gas oven
- Page 21 – GAS OVEN COOKING TABLE
- Page 22 – thermostat; or gas thermostat.
- Page 23 – Before using the ovens for the first time:; The operation
- Page 24 – Preheating the oven:; Fast prehea
- Page 28 – USING THE; Set up
- Page 29 – Timer
- Page 30 – Touch any touch control area to stop tone.; Cooking time
- Page 32 – It is important that:; Cut of meat Preferred result Suggested core temp; Topside of beef Medium rare; Important; bring both knobs on the; OVEN TEMPERATURE GUIDE; Selecting the correct cooking temperature
- Page 35 – CLEANING YOUR COOKER; Stainless steel hob
- Page 40 – ACCESSORIES; Plinth kits; pan supports of all cookers.; Stay clean liners; the splashes are burnt off to keep the oven interior like new..; Cast iron wok support; balti pans; Extra high adjustable legs
- Page 41 – TROUBLESHOOTING
- Page 43 – USEFUL TIPS; Cookshop thermometers; should; Correct cooking time; surfaces.; Doors and door seals; shorten their life span.; Induction cookers; circuits and the power supply to the appliance.
- Page 44 – middle zone to operate up to level 7.; 00x60 triple oven levelling feet; the Allen key supplied through the centre of the toot.
1
INSTALLATION, MAINTENANCE AND USE
INSTRUCTIONS FOR
FREE-STANDING COOKERS
MAS
HER
PRO
READ THE INSTRUCTION BOOKLET BEFORE INSTALLING AND USING THE
APPLIANCE.
The manufacturer will not be responsible for any damage to property or to persons caused by
incorrect installation or improper use of the appliance.
The manufacturer is not responsible for any inaccuracies, due to printing or transcription errors, contained in
this booklet. In addition, the appearance of the figures reported is also purely indicative.
The manufacturer reserves the right to make changes to its products when considered necessary and useful,
without affecting the essential safety and operating characteristics.
3100137
"Loading the manual" means you need to wait until the file loads and becomes available for online reading. Some manuals are very large, and the time they take to appear depends on your internet speed.
Summary
2 CONTENTS: INSTALLER TECHNICAL MANUAL…………………………………………………………………….. pg.2 APPLIANCE MAINTENANCE ....................................................................................................... pg.4 INSTALLING A DUAL FUEL RANGE COOKER ................................................................
4 APPLIANCE MAINTENANCE ATTENTION: IMPORTANT WARNINGS For cookers resting on a base ATTENTION: If the cooker rests on a base, take the measures necessary to prevent the cooker from sliding along the support base. For cookers with electric ovens The unit becomes hot during use. Do not touch the heati...
5 The up-stand is packed separate and is taped to the back of the cooker. Other components can be found inside the ovens. All packaging and covering films must be removed before the installation can commence. All electric cookers should be installed by a qualified electrician in accordance with IEE ...