BAS-IP AQ-07LA (AQ-07LA_W) - User Manual
BAS-IP AQ-07LA (AQ-07LA_W) Intercom – User Manual, read for free online in PDF format. We hope this helps you resolve any issues you may have. If you have further questions, please contact us through the contact form.
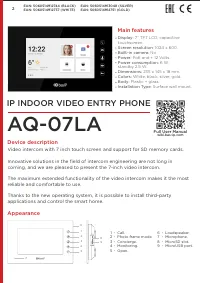
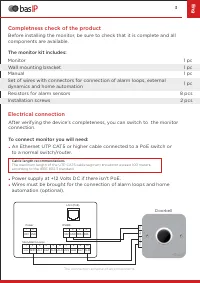


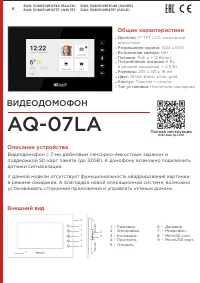
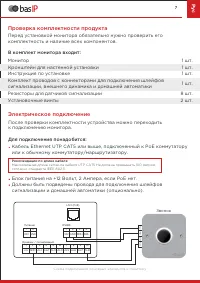
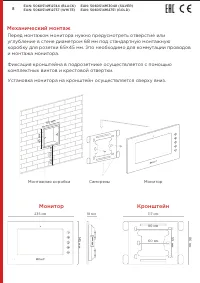


Table of Contents:
- Page 2 – Main features; ” TFT LCD, capacitive; Appearance
- Page 3 – Eng; Completness check of the product; The monitor kit includes:; Electrical connection; Doorbell
- Page 4 – Mechanical mounting; Mounting box; Monitor
- Page 5 – arranty; Customer signature; arranty conditions; Terms of warranty
- Page 6 – ВИДЕОДОМОФОН; Общие характеристики; Дисплей; Полная инструкция; Внешний вид
- Page 7 – Рус; Проверка комплектности продукта; В комплект монитора входит:; Электрическое подключение; Звонок
- Page 8 – Механический монтаж; Установка монитора на кронштейн осуществляется сверху вниз.; Монтажная коробка; Монитор
- Page 9 – Гарантия; Серийный номер
- Page 10 – Notes
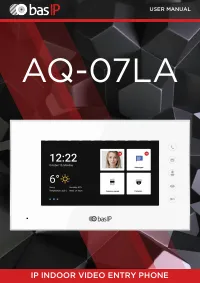
USER MANUAL
IP INDOOR
VIDEO
ENTRY PHONE
AQ-07L
А
"Loading the manual" means you need to wait until the file loads and becomes available for online reading. Some manuals are very large, and the time they take to appear depends on your internet speed.
Summary
AQ-07L А IP INDOOR VIDEO ENTRY PHONE Video intercom with 7 inch touch screen and support for SD memory cards. Innovative solutions in the field of intercom engineering are not long in coming, and we are pleased to present the 7-inch video intercom. The maximum extended functionality of the video inte...
3 Eng Completness check of the product Before installing the monitor, be sure to check that it is complete and allcomponents are available. The monitor kit includes: Monitor Manual Wall mounting bracket Set of wires with connectors for connection of alarm loops, external dynamics and home automation...
Mechanical mounting 4 Before installation of a monitor, it is necessary to drill a hole or a recess into a wall with a 68 mm (2.68in) diameter under the standard mounting box for a 65x45 mm (2.56x2.13in) socket. It is necessary for switching of wires and installation of the monitor. Attach the brack...